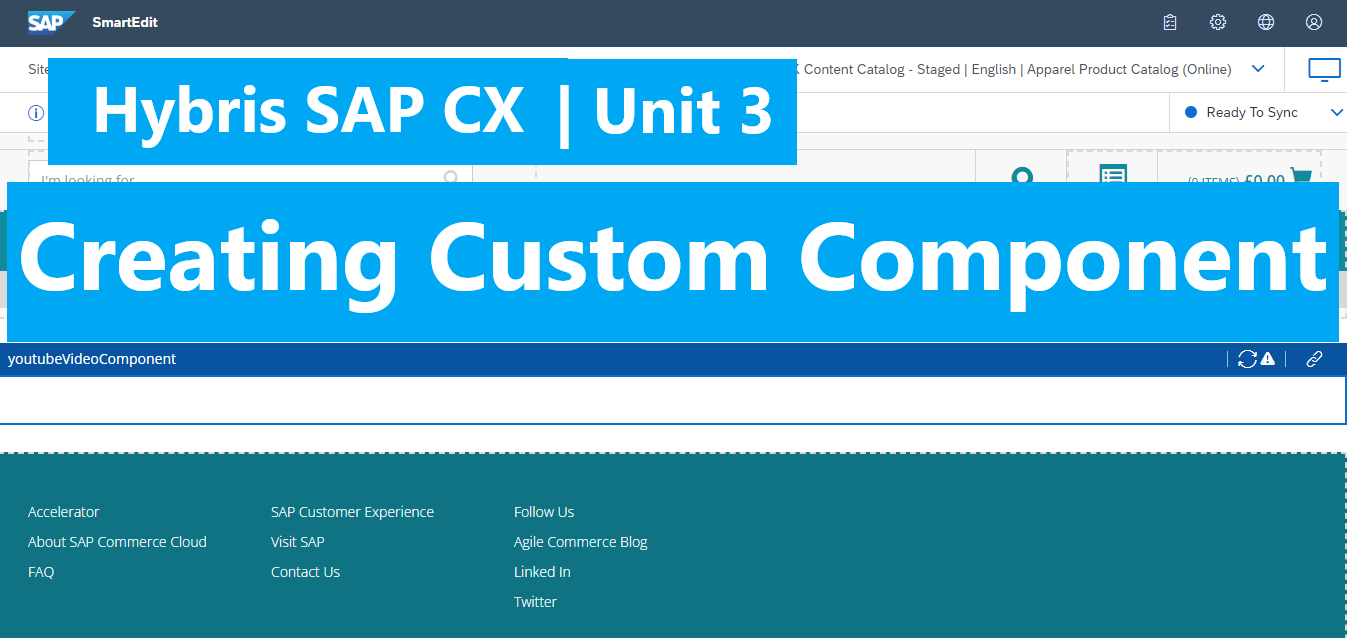
SAP Hybris Tutorial – CMS Create Custom Component | Unit 3

Today, we will create a Youtube Video Component and include this component into: “Contact Page Template”
Steps:
1. Define Item Type Component in *item.xml file
2. Define Impex to init data for component
3. Create Controller and JSP page for this component
4. Update the JSP page template and include the components
5. Verify the result
1. Define Item Type Component in *item.xml file
We have 5 fields in this component, they are: width, height, videoId, autoplay, showControls
<itemtype code="YoutubeVideoComponent"
	extends="SimpleCMSComponent"
	jaloclass="com.hybrislearning.core.jalo.component.YoutubeVideoComponent"
	abstract="false">

	<attributes>
		<attribute qualifier="width" type="java.lang.Integer">
			<modifiers />
			<persistence type="property" />
		</attribute>

		<attribute qualifier="height" type="java.lang.Integer">
			<modifiers />
			<persistence type="property" />
		</attribute>

		<attribute qualifier="videoId" type="java.lang.String">
			<modifiers />
			<persistence type="property" />
		</attribute>

		<attribute qualifier="autoPlay" type="java.lang.Boolean">
			<modifiers />
			<persistence type="property" />
			<defaultvalue>false</defaultvalue>
		</attribute>

		<attribute qualifier="showControls"
			type="java.lang.Boolean">
			<modifiers />
			<persistence type="property" />
			<defaultvalue>false</defaultvalue>
		</attribute>
	</attributes>
</itemtype>
Open command line at /hybris/bin/platform and run: ant
This helps us to generate a java model automatically. After the CMD finished, f5 on platform project, then search for “YoutubeVideoComponentModel”.
2. Define Impex to init data for component.
Adding following Impex to init data for YoutubeVideoComponent.
NOTE: the file location: \hybris\bin\custom\hybrislearning\hybrislearninginitialdata\resources\hybrislearninginitialdata\ import\sampledata\contentCatalogs\catalogName\cms-content.impex
# init data for Youtube video component.
$contentCatalog=apparel-ukContentCatalog
$contentCV=catalogVersion(CatalogVersion.catalog(Catalog.id[default=$contentCatalog]),CatalogVersion.version[default=Staged])[default=$contentCatalog:Staged]

INSERT_UPDATE YoutubeVideoComponent ; $contentCV[unique=true] ; uid[unique=true]  ; name                    ; width ; height ; videoId     ; autoPlay ; showControls ; &componentRef
                                    ;                         ; VideoCMSComponent ; Our First CMS Component ; 1250  ; 500    ; ypU5X08oqvo ; false    ; true         ; VideoCMSComponent
3. Create Controller and JSP page for this component.
Under src folder of storefront extension, create YoutubeVideoComponentController.java file
// YoutubeVideoComponentController.java

package de.hybris.learning.storefront.controllers.cms;

import de.hybris.learning.core.model.component.YoutubeVideoComponentModel;
import de.hybris.learning.storefront.controllers.ControllerConstants;

import javax.servlet.http.HttpServletRequest;

import org.apache.commons.lang3.BooleanUtils;
import org.slf4j.Logger;
import org.slf4j.LoggerFactory;
import org.springframework.stereotype.Component;
import org.springframework.ui.Model;
import org.springframework.web.bind.annotation.RequestMapping;


@Component("YoutubeVideoComponentController")
@RequestMapping(value = ControllerConstants.Actions.Cms.YoutubeVideoComponent)
public class YoutubeVideoComponentController extends AbstractAcceleratorCMSComponentController<YoutubeVideoComponentModel>
{
	private static final Logger LOGGER = LoggerFactory.getLogger(YoutubeVideoComponentController.class);

	@Override
	protected void fillModel(final HttpServletRequest request, final Model model, final YoutubeVideoComponentModel component)
	{
		model.addAttribute("width", component.getWidth());
		model.addAttribute("height", component.getHeight());
		model.addAttribute("videoId", component.getVideoId());

		model.addAttribute("autoPlay", BooleanUtils.toBoolean(component.getAutoPlay()) ? 1 : 0);
		model.addAttribute("showControls", BooleanUtils.toBoolean(component.getShowControls()) ? 1 : 0);

		LOGGER.info("====================== The YoutubeVideo Component Custom ====================");
	}

}
Under storefront extension, create the youtubevideocomponent.jsp file
<%@ page trimDirectiveWhitespaces="true" %>

<iframe
        width="${width}"
        height="${height}"
        src="https://www.youtube.com/embed/${videoId}?autoplay=${autoPlay}&controls=${showControls}">
</iframe>
4. Update the JSP page template and include the components
Include this component into Contact Page template (or other pages template you have)
Adding impex data to include this component into the Contact page template.
INSERT_UPDATE ContentSlot ; $contentCV[unique=true] ; uid[unique=true]    ; name                     ; active ; cmsComponents(uid, $contentCV)
                   ;                         ; youtubeVideoComponent ; Youtube Video Component ; true   ; VideoCMSComponent

INSERT_UPDATE ContentSlotName ; name[unique=true]      ; template(uid,$contentCV)[unique=true][default='ContactPageTemplate'] ; validComponentTypes(code) ; compTypeGroup(code)
                              ; youtubeVideo               ;                                                                     ;                           ;

INSERT_UPDATE ContentSlotForTemplate ; $contentCV[unique=true] ; uid[unique=true]      ; position[unique=true] ; pageTemplate(uid,$contentCV)[unique=true][default='ContactPageTemplate'] ; contentSlot(uid,$contentCV)[unique=true] ; allowOverwrite
                                     ;                         ; youtubeVideo-1LandingPage ; youtubeVideo       ;                                                                         ; youtubeVideoComponent               ; true
Updating the contactLayoutPage.jsp file, add the following snippet code in the body:
<cms:pageSlot position="youtubeVideo" var="feature" element="div" class="your-class">
	<cms:component component="${feature}" />
</cms:pageSlot>
To view the full .jsp file please view the previous post.
5. Verify the result
At platform folder, run command line: ant all -> hybrisserver.bat
Open the page which you created by “contactPageTemplate” and verify the result.

In the next post, we will learn how to publish a page to online.
Happy coding.!!! <3
