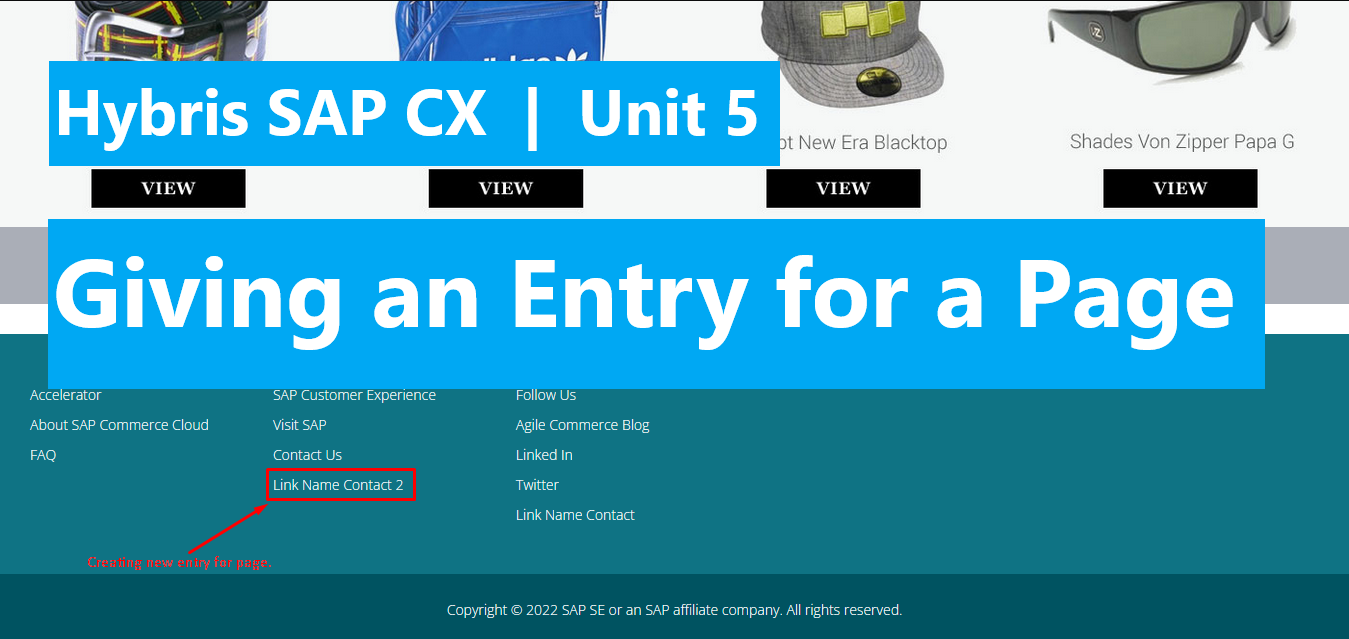
SAP Hybris Tutorial – CMS Giving an entry for a page. | Unit 5

In the previous post, we created and published a page id: “contactContentPage”
Now, we want to pin this page on somewhere on our site in order to users can access into our page.
So the steps will be:
- Find the parent node id. (parent entry)
- Create a node for the page.
- Add our page node under the parents node.
- Create CMS Link for page
- Giving an entry for our page node
- Sync and Verify the menu.

Let’s go dive into each step.
Step 1: Find the parent node id. (parent entry)
The menu we will add our page is “Follow Us” under footer.

We search the text “Follow Us” in our source code and find out the id of parents node is: “FollowUsNavNode”
Step 2: Create a node for the page.
Execute the Impex below:
$contentCatalog=apparel-ukContentCatalog
$contentCV=catalogVersion(CatalogVersion.catalog(Catalog.id[default=$contentCatalog]),CatalogVersion.version[default=Staged])[default=$contentCatalog:Staged]

# Create a node for page
INSERT_UPDATE CMSNavigationNode ; uid[unique=true]    ; $contentCV[unique=true] ; name                 ; title
								; contactPageNavNode  ;                         ; My Contact Page Node ; My Contact Page Title
Step 3: Add our page node under the parents node.
Execute the Impex:
$contentCatalog=apparel-ukContentCatalog
$contentCV=catalogVersion(CatalogVersion.catalog(Catalog.id[default=$contentCatalog]),CatalogVersion.version[default=Staged])[default=$contentCatalog:Staged]

INSERT_UPDATE CMSNavigationNode ; uid[unique=true]   ; $contentCV[unique=true] ;children(uid,$contentCV)[mode=append]
								; FollowUsNavNode    ;                         ; AgileCommerceBlogNavNode,LinkedInNavNode,FacebookNavNode,TwitterNavNode,contactPageNavNode
Mode=append: help to order items
Step 4: Create CMS Link for page
Execute the Impex:
$contentCatalog=apparel-ukContentCatalog
$contentCV=catalogVersion(CatalogVersion.catalog(Catalog.id[default=$contentCatalog]),CatalogVersion.version[default=Staged])[default=$contentCatalog:Staged]

# Register our page into the CMSLinkComponent
INSERT_UPDATE CMSLinkComponent ; $contentCV[unique=true] ; uid[unique=true]    ; name              	   ; url                   ; ; ; target(code)[default='sameWindow'] ; contentPage(uid,$contentCV) ; linkName[lang=en]
							   ;                         ; contactPageLink     ; My Contact Page Link  ; /mypages/contact-cms  ; ; ; newWindow                          ; contactContentPage          ; Link Name Contact
Step 5: Giving an entry for our page node
Execute the Impex:
$contentCatalog=apparel-ukContentCatalog
$contentCV=catalogVersion(CatalogVersion.catalog(Catalog.id[default=$contentCatalog]),CatalogVersion.version[default=Staged])[default=$contentCatalog:Staged]

INSERT_UPDATE CMSNavigationEntry ; uid[unique=true]          ; $contentCV[unique=true] ; name                                  ; navigationNode(uid, $contentCV)        ; item(CMSLinkComponent.uid,CMSLinkComponent.$contentCV) ;
                                 ; contactPageNavNodeEntry   ;                         ; My Contact Page Navigation Node Entry ; contactPageNavNode                  ; contactPageLink
Step 6: Sync and Verify the menu.
Cause all the impex above are executed in Stage mode. We need to open the smartedit to verify: https://localhost:9091/smartedit/ (the port is customed, should be updated on your site. e.g: 9002)

You see name of link “Link Name Contact” is display (impex step 4). Click on it to view your page.
But as expected is our page should be under “Twitter”. Let’s open the dialog of footer component slot. Modifying the wrap after field value to “5”

Now, save and view result:

We almost done, to view our new update on the publish page, one more final step is sync content catalog from Staged mode to Online mode. Please help me to do that. ^^ If you don’t know how. Please view the previous post (unit 4).
Congratulation.!. We did it.
In the next post, we will talk about: how to create different CMS content for each page, which are using the same template. Hope to see you in the next post.
Happy Coding.!!! <3
