Hybris Tip 4 – Abort Cronjob – Enable Abort Action

0 Comments

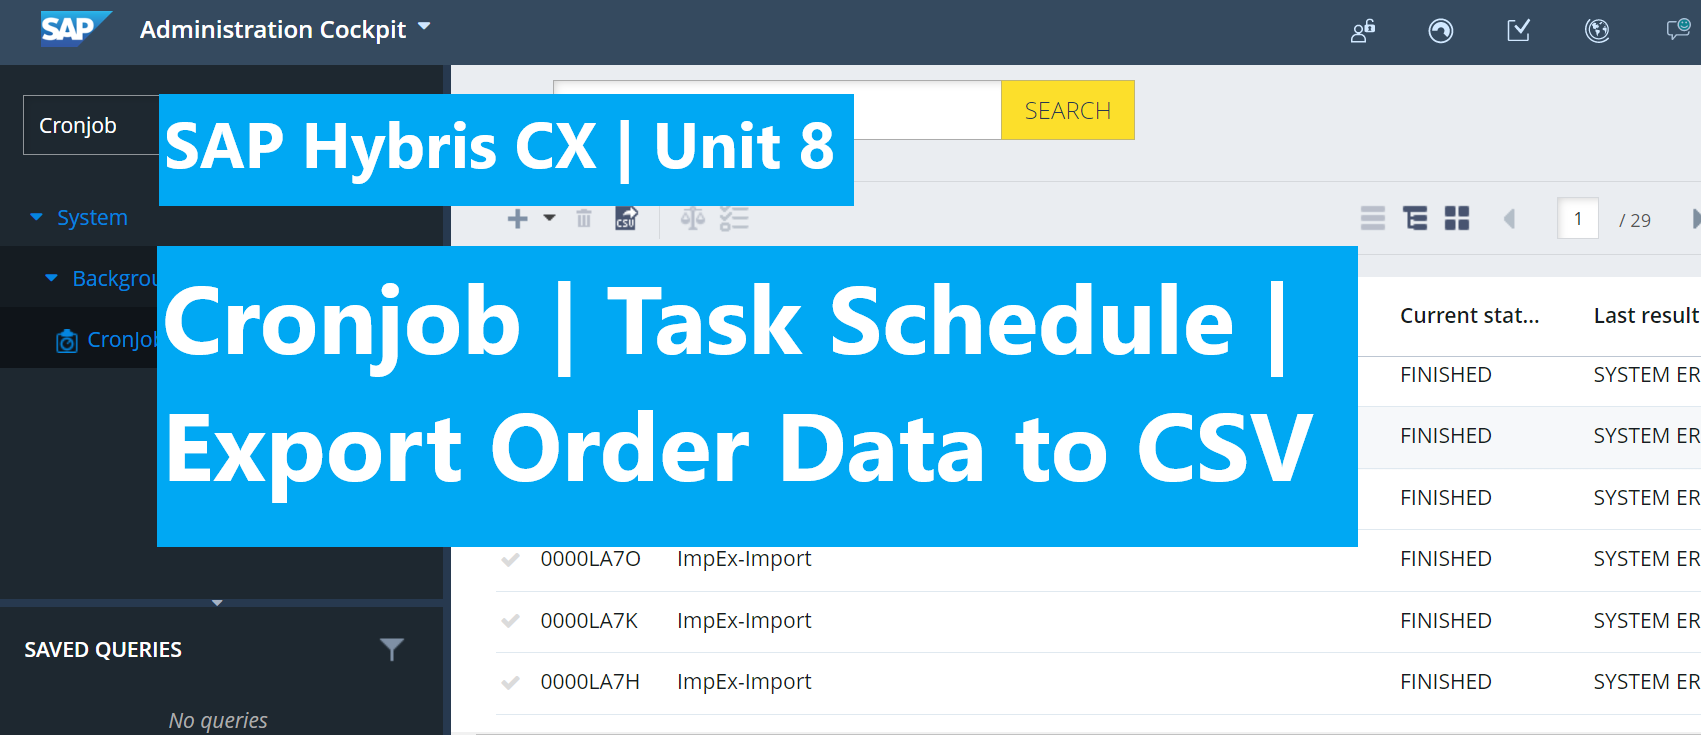
In the previous post Hybris Tutorial – Cronjob | Task Schedule | Export Order Data to CSV | Unit 8, we learned the way to create the cronjob. But we don’t know how to stop it when it is executing. So in this post, we will learn about the way to abort cronjob. By default, […]


Hybris Tutorial – Data Modeling | items.xml File | Unit 9

0 Comments
hybris data modeling, items.xml file

This is the very important part we need to know about the data modeling in Hybris. The items.xml file specifies the types of an extension. By editing the items.xml file, you can define new types or extend existing types. In addition, you can define, override, and extend attributes in the same way. In this post, you will know how […]


Hybris Tip 3 – Customize The Media Urls

0 Comments
Customize Media URL

In this post, we will learn about how to custom the media url as our expected. As usual, we upload a media file, the media URL will contain some text like “..?context=…”, if we share this URL and after a period of time, we can not access that URL anymore because the new version is […]


Hybris Tutorial – Cronjob | Task Schedule | Export Order Data to CSV | Unit 8

0 Comments
Cronjob | Task Schedule | Export Order Data to CSV

Hi everyone. In this post, we will come into the different concepts, not about CMS, we will learn about: Let’s go. 1)What is a cronjob? SAP Commerce provides a means to set up regular tasks. With these tasks or cron jobs, you can repeatedly perform complex business logic at particular times and intervals. 2) Why […]


Hybris Tutorial – CMS Allow Drag, Drop, Move and Clone Component | Unit 7

0 Comments
Hybris drag drop component

In this post, we will learn how to drag and drop and clone the Youtube component which created in unit 3. Contents: Let’s go. 1)Allow components are available in Add Component “+ Component” section. Wide and Narrow are common pre-defined group in Hybris platform. They allow us drag, drop, edit, delete component in cms page. […]


Hybris Tutorial – Hybris Introduction | Hybris Installation | Unit 1 – Part 1

0 Comments
Hybris introduction | Hybris Installation

Hello everyone. Now we are coming to the series of posts about learning SAP Hybris. I have created some posts belong this series before (about Hybris CMS from Unit 2 – Unit 6). Now I think I should create a fundamental to advanced series not only to share my knowledge to everyone but also to […]


Hybris Tutorial – Import Hybris Project into Intellij | Eclipse IDE | Unit 1 – Part 2

0 Comments
Hybris Import Hybris project into IntelliJ | Eclipse

In this post, we will lean how to import our Hybris project into common IDE. Part 1: Import Hybris Project into Intellij IDE Part 2: Import Hybris Project into Eclipse IDE Congratulation.!!! We did it. In the next post we will learn how to create custom template in WCMS. Happy coding.!!! <3 <<< Hybris Introduction […]


Hybris Tutorial – CMS Create Content Slot for Page | Unit 6

0 Comments
hybris content slot for page

In the Unit 3, we known how to create content for page by adding content of custom components into the template. But this added content seem applied to all pages which use the same template. The question is how to separate content for each page which are using the same template.? In this post we […]


Hybris Tip 2 – CMS Component Visitor

0 Comments
CMS Component Visitor

The Visitor helps us to catch the change value on the reference attributes of components. NOTE: It won’t work for partof=”true” attributes. Steps: 1, Create a visitor java file. 2, Register the visitor bean into context. 3, Map the cms visitor with the Component model Let’s go. 1, Create a visitor java file. OOTB also […]


Hybris Tutorial – CMS Giving an entry for a page. | Unit 5

0 Comments
giving an entry for page

In the previous post, we created and published a page id: “contactContentPage” Now, we want to pin this page on somewhere on our site in order to users can access into our page. So the steps will be: Let’s go dive into each step. Step 1: Find the parent node id. (parent entry) The menu […]